Step-by-Step Guide: Setting Up Your Episode One Projector

Imagine transforming your living room into a private cinema within minutes. Dim the lights, grab your favorite snacks, and cue the intro. Whether you're binge-watching a Netflix series, hosting a movie night, or diving into the latest video game with friends, the Xming Episode One projector from Formovie brings it all to life with stunning visuals and immersive audio. But before the show begins, the magic starts with the setup.
In this comprehensive step-by-step guide, we’ll walk you through everything you need to know, from unboxing to image calibration, to help you get the most out of your Episode One experience. We’ll also sprinkle in some pro tips to elevate your setup and ensure every scene looks (and sounds) exactly as it should. Let’s dive in and bring your entertainment dreams to life.
Unboxing and Initial Setup
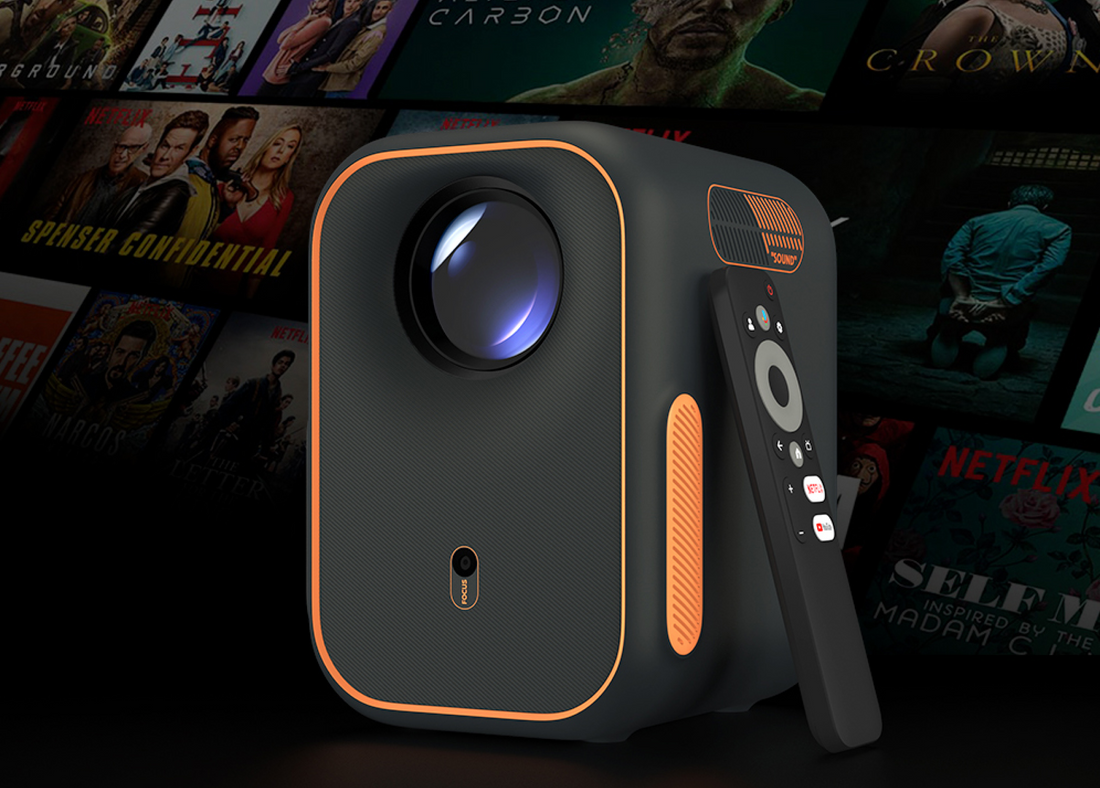
Begin by carefully unboxing your Xming Episode One projector. Inside, you'll find:
-
The Episode One projector
-
A remote control
-
A power cable (region-specific)
-
A user manual
-
A warranty card
Choosing the Ideal Location
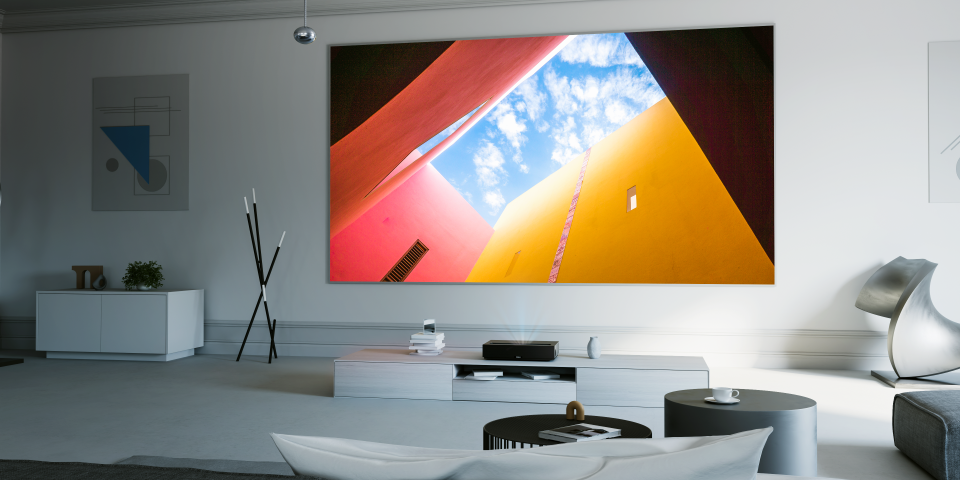
Selecting the right spot for your projector is crucial. The Xming Episode One features a 1.2:1 throw ratio, allowing you to project a 120-inch display from approximately 3 meters away. Ensure the chosen location has a flat, stable surface and is free from obstructions that could interfere with projection. The projector can be placed on a tabletop or mounted on the ceiling using a compatible bracket. For ceiling installations, refer to the user manual for specific hoisting instructions.
Powering Up and Getting Started with the Remote
Getting your Episode One projector up and running is quick and hassle-free. Start by connecting the power cable to the projector’s DC port, then plug the other end into a wall outlet. With a simple press of the power button, either directly on the projector or using the remote control, you’ll see the power indicator light up, letting you know the projector is ready to roll.
Before using the remote, be sure to insert the required batteries (keep in mind they’re not included). Once powered, the remote becomes your all-in-one control hub, allowing you to navigate menus, adjust settings, and even activate Google Assistant for convenient voice commands. It’s designed for simplicity so you can focus less on setup and more on enjoying your favorite content.
Image Adjustment
The Xming Episode One is equipped with several automatic adjustment features to enhance your viewing experience and provide a hassle-free setup.
-
Auto Keystone Correction: Automatically adjusts the image to ensure a rectangular display, even when the projector is placed at an angle.
-
Auto Focus: Ensures a sharp image without manual intervention.
-
Smart Obstacle Avoidance: Detects and avoids obstacles in the projection area.
-
Automatic Curtain Alignment: Adjusts the image to fit within screen boundaries.
Connecting External Devices
The Episode One projector offers a variety of ports to keep you seamlessly connected to all your favorite devices. With an HDMI port, you can easily hook up Blu-ray players, gaming consoles, or laptops for a big-screen experience. The USB port allows you to access and play media files directly from a flash drive, making it perfect for sharing photos, videos, or presentations on the fly. For those craving a richer sound experience, the Line Out port lets you connect external audio systems, taking your setup to the next level. Just remember to always power off your devices before plugging them in to avoid any potential damage and ensure a smooth, safe connection.
Audio Configuration
The projector features built-in 2x3W speakers with Dolby Audio certification, delivering clear and immersive sound. For a more robust audio experience, consider connecting an external sound system via the Line Out port.
Setting Up Google TV
With Google TV built-in, the Episode One unlocks over 700,000 movies, shows, and apps, including certified Netflix, right out of the box. Setup is a breeze: just follow the on-screen prompts to connect to Wi-Fi, sign in with your Google account, and choose your favorite apps to personalize your home screen. In minutes, you’ll have seamless access to endless entertainment and smart recommendations tailored just for you.
Screen Casting and Voice Control
With built-in Chromecast, you can effortlessly cast content from your smartphone or tablet to the projector, making entertainment seamless. Additionally, the remote's Google Assistant button enables voice commands for searching content, adjusting settings, and controlling smart home devices.
Final Curtain Call: Your Cinema Awaits
And there you have it, your Xming Episode One projector is ready to light up the room. With a sleek design, powerful features like auto keystone correction and smart obstacle avoidance, and the magic of Google TV at your fingertips, you’ve just transformed any wall into a window to your favorite stories, worlds, and experiences.
Whether you're gearing up for an epic Marvel marathon, throwing a backyard movie night under the stars, or just catching up on your favorite YouTubers in larger-than-life detail, the Episode One makes every moment feel cinematic. And the best part? You didn’t need a tech team or a degree in engineering to get it all up and running.
So sit back, hit play, and let your Formovie projector do what it does best: turn everyday viewing into something unforgettable. Your movie night just got an upgrade. Lights off. Magic on.

