Fine-Tuning Your Formovie THEATER: A Step-by-Step Guide to Projector Perfection
Getting the perfect projector for your home’s entertainment room is the first step to creating the ultimate personal cinema set-up. The next step is to set it up to display the perfect picture.
It’s fair to assume that the image you see when you first turn on the projector, the factory setting, is the best calibration for your projector whether it’s an ultra-short throw (UST) or a lifestyle projector. However, one must always remember that every environment is different, and what may be the perfect color setting in a dark home theater could be a completely washed-out image in the living room.
One of the best features of a projector like the Formovie THEATER is the different picture modes that automatically adjust the color, contrast, and brightness settings to suit different types of content. On the other hand, not all projectors offer 16 different picture modes to suit different preferences.
Also, many people prefer the clean aesthetic of projecting directly on a wall, which can significantly affect how your image is projected compared to a dedicated screen. In cases like this, you’ll need to adjust the projector’s picture settings. This guide will help you get the best display when using your Formovie THEATER in different environments.
Set the Projector Up First
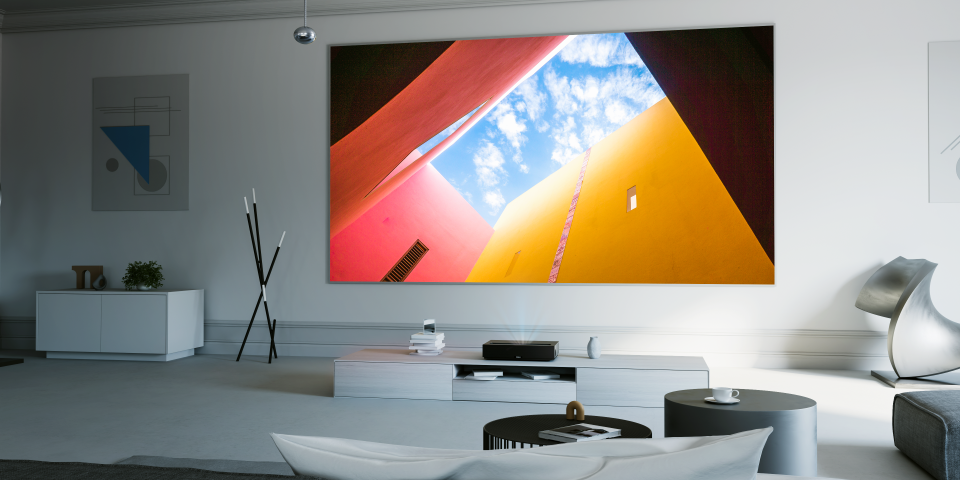
Assuming you haven’t already done so, you’ll need to start by placing the projector in its forever home. Follow this guide for tips on how to set up the Formovie THEATER like a pro, whether you’re using a ceiling mount or setting it directly on the furniture. Then, in the settings, locate the Projector menu to start adjusting the picture settings. The Projection Method menu comes in handy for mounting the projector to the ceiling.

(Image Credit: ProjectorScreen.com)
To optimize your viewing experience, you need to assess and fine-tune the image in the light conditions and screen of your choice. An ambient light-rejecting screen, for instance, can withstand the bright conditions in an ambient environment, but it will give a different result if the light is slightly dimmed. Similarly, a completely white wall may do the best job of mimicking a projector screen, but a grey or lightly colored wall can add a unique level of depth to the display. Our advice is to make these adjustments in the environment you’re most likely to watch the projector.
Select Your Prefered Picture Mode
Getting your projector's brightness and contrast levels just right takes a bit of patience because black on a projector is just the absence of light whereas brightness is the opposite. The easiest way to do this is by playing your preferred content in a preset picture mode first, then adjusting the brightness, contrast, saturation, hue, and sharpness to suit your eye’s taste. The Formovie THEATER has 7 unique picture modes for HDR and SDR.
User Mode
This mode offers the most options for customization and it’s the best one to use for the best results with this guide. Out of the box, it may have excessive blue tones, or it may lack red and green tones, delivering a pleasant but slightly inaccurate look that’s perfect for tweaking.
The rest of the most deliver red, blue, and green tones in different levels, and selecting either one may be the only adjustment you need to make to your settings.
Standard Mode
Similar to User Mode with an almost dismissable increase in brightness levels. It sometimes has the same excessive blue tone in its default mode, providing a pleasing but inaccurate display that’s easy to tweak.
Vivid Mode
Has a similar brightness to the User and Standard Modes with an increase in the contrast levels to 60, and 70 for saturation, creating a vivid oversaturated appearance.
Sport Mode
Sport Mode has similar brightness levels to Vivid Mode with the contrast levels taken down a notch to 55 and saturation to 60. The main benefit of this mode is the activation of the advanced MEMC feature that delivers a crystal-clear display for fast-moving images. This mode may also be useful for watching action movies.
Movie Mode
Adjusts contrast and saturation to mimic a film look, making it ideal for dark rooms or movie time. The projector’s brightness level drops, creating a dimmer cinematic look.
Game Mode
Similar brightness to Movie Mode, with normal mid-range values for contrast and saturation. Designed to minimize processing for low lag during gaming. This mode also activates advanced features like PC Mode and MEMC.
Child Mode
This mode takes the brightness levels from Vivid Mode even higher, and it’s the most restrictive mode for customization.
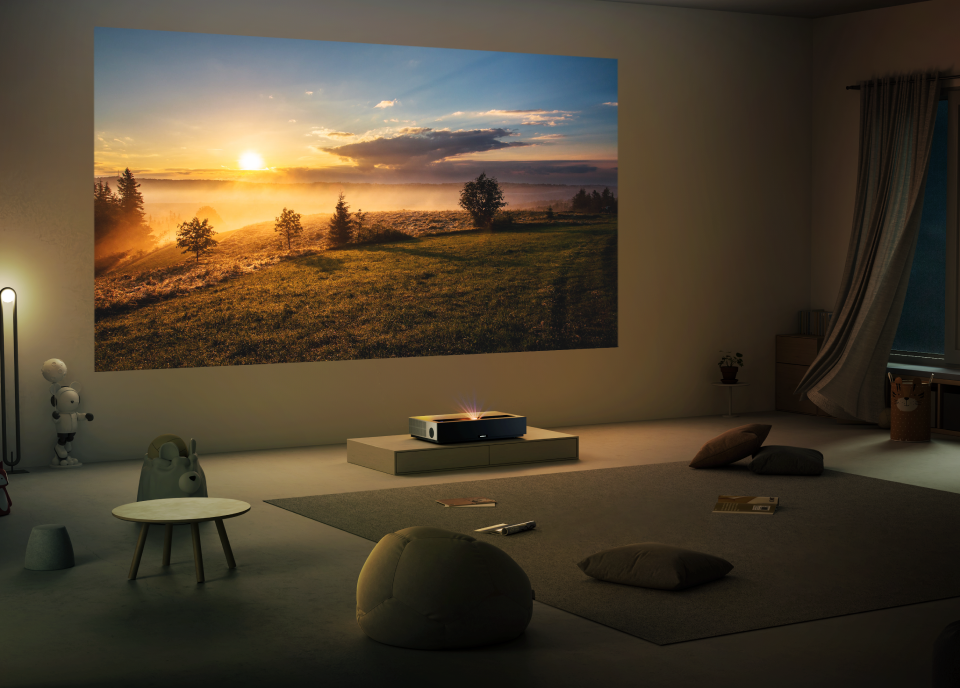
Adjust the Settings for Your Environment

(Image Credit: ProjectorScreen.com)
When you're adjusting the brightness settings, work with a movie that has lots of dark tones and shadows, like Harry Potter and the Deathly Hallows, or the Godzilla movie.
Brightness
Adjust the Brightness until the whole picture looks just how you want it to, but make sure the dark parts still have enough detail. You need the blacks to look deep and full, with clear details like stars in space or textures on suits still visible. If the black seems like a solid block, you've probably set the brightness too low.
Contrast
When you’re satisfied with the image, mess with the Contrast slider to get the white parts looking brighter, but make sure not to lose the details. You might need to go back and forth adjusting brightness and contrast until everything looks just right. This careful process makes sure your projector gives you the best picture quality for a super enjoyable movie night.
Color Settings
When fine-tuning Saturation and Hue settings, prioritize working on scenes with natural-looking skin tones. Look for close-up shots of regular individuals and move away from the alien life forms in the Men In Black scenes, or excessively retouched celebrities.
Saturation and Hue
Adjust the Saturation and Hue sliders until the skin tones appear entirely normal. Strive for a natural look that falls between warm and ill-looking. While warm, rosy colors may initially appeal, consider opting for a slightly paler tone to avoid potential long-term visual fatigue.
Sharpness
While adjusting sharpness, maintain a balance between achieving ultimate high-definition detail and preserving natural integrity. Excessive sharpness can result in jagged, poorly defined lines with a stepped appearance, something like what you’ll see on a billboard. To minimize the defect, gradually reduce sharpness, finding a level that maintains detail without introducing noticeable edges.
And You’re Ready to Go…
As you embark on this new entertainment journey, remember that achieving the perfect picture involves a careful balance of brightness, contrast, color, and sharpness. By following the steps outlined in this guide, you'll not only optimize your Formovie THEATER projector but also elevate your home entertainment to new heights, ensuring each movie night is a visually stunning and unforgettable experience.
