Connect An External Sound System to the Formovie THEATER
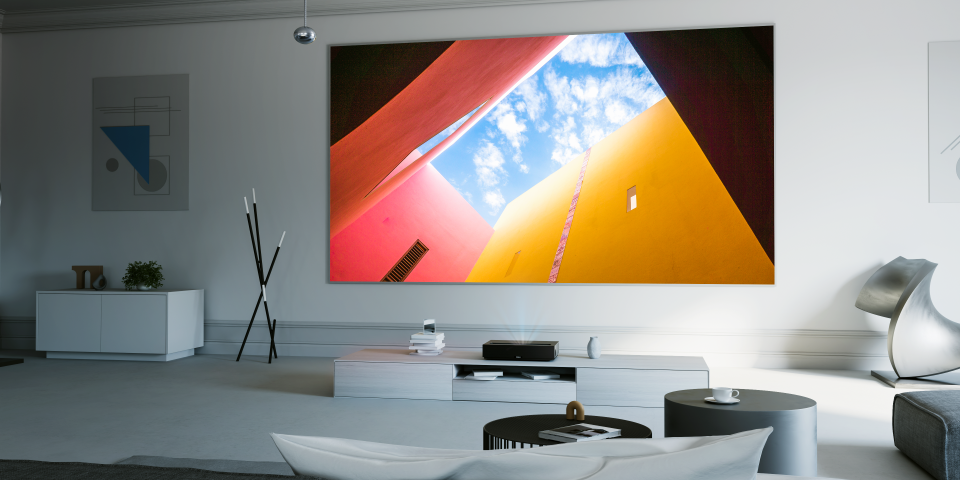
The perfect home theater has everything you need for an immersive experience, including snacks and refreshments on hand, comfortable seating, and a sound system that compliments the stunning views on the screen. The Formovie THEATER reigns supreme in the audio and visuals department, boasting the title of being one of the only laser TVs with certified Dolby Vision and Dolby ATMOS. This ensures that no matter what you’re watching on the big screen, and regardless of the sound system you’re using, you’ll be getting the finest 4K UHD display and enhanced surround sound acoustics that’ll put you right at the center of the action.
While the built-in Bowers and Wilkins speakers offer a home theater experience complete with Dolby ATMOS, connecting an external sound system to the Formovie THEATER is easy and takes the entertainment value up a few notches. We’ll explore how to go about using the various available ports to connect an external sound system, and which may be the best one for you to use.
Outstanding Built-in Sound
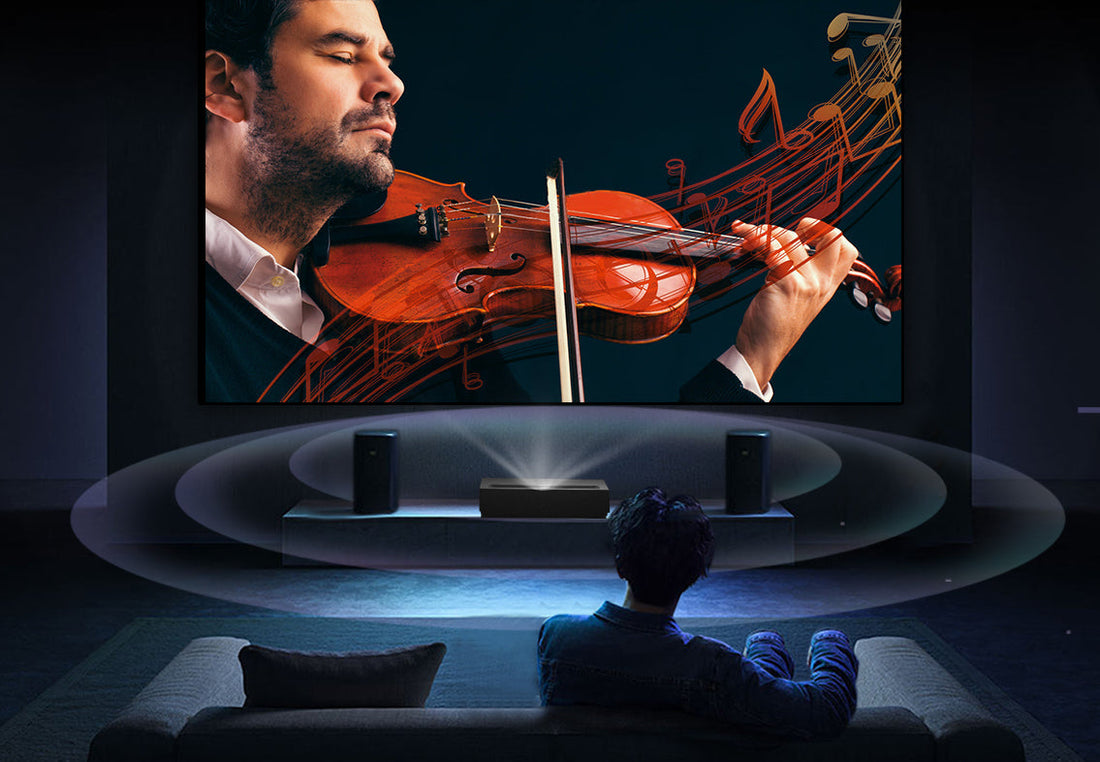
Before you think about adding an external sound system to your home theater, potentially taking up more space, consider that the Formive THEATER offers the complete entertainment package. The built-in Bowers & Wilkins sound system is made up of 4 two-inch speakers and two tweeters that deliver a total of 30 watts of rich sound and fine-tuned bass. The Dolby ATMOS enhancement, which can be turned on and off, adds depth to the audio and fine tunes the minuscule sound effects that make a video game or movie more realistic. The sound system is considerably one of the best to be integrated into a laser projector, and it helped the Formovie THEATER to gain victory in the audio section of the 2022 Laser TV showdown.
Choosing the Right Connectivity Port
Multiple factors can influence the connection you choose to use for the external sound system, like the appliances you already have connected to the projector. It’s a major inconvenience to have to disconnect the PlayStation or the cable to use the HDMI port for the sound system. The Formovie THEATER has three ports that are dedicated to delivering the finest audio output, making it possible to utilize a sound bar or surround sound system without interrupting any other appliance’s connection.

Optical Audio or S/PDIF Port
The optical audio port has been around for ages, and it uses a combination of wires and lasers to transmit sound. Because it’s been around for a very long time, a variety of older sound systems have this connection making it possible to keep your trusted audio companion with the latest TVs and projectors.
HDMI ARC Port
HDMI ARC ports are most commonly used among the latest audio equipment like sound bars, and it’s the recommended connection to use for the best audio results including access to Dolby ATMOS.
Line Out Port
While you may not probably use this port, the Formovie THEATER gives you the option to connect a headphone jack or aux cable to use with a portable speaker. Remember that you can use Bluetooth to connect wireless headphones for a private viewing experience, and if you ever find yourself in a situation where you have to use a portable speaker, revert to the built-in Bowers & Wilkins speakers.
How to Connect Using HDMI ARC or Optical Audio
Connecting an external sound system is a simple task, and it’s the same for both HDMI ARC and Optical Audio. The below instructions can be used for the installation of either one, but because you’ll most likely be using the HDMI ARC port, that’s the one we’ll focus on.
Step One: Connect the Wires
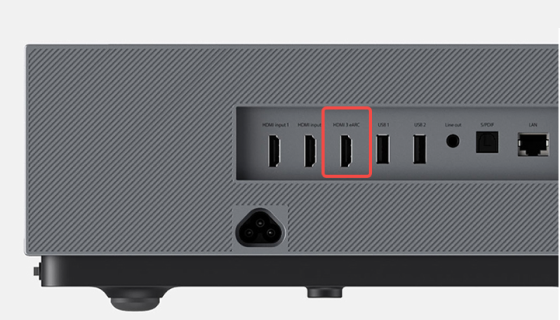
The HDMI ARC cable should be plugged into both appliances to establish a connection. Ensure that you’re plugging the cable into the correct port on the back of the projector and on the back of the sound system. It’ll be marked as HDMI ARC on both appliances.
Step Two: Change the Settings
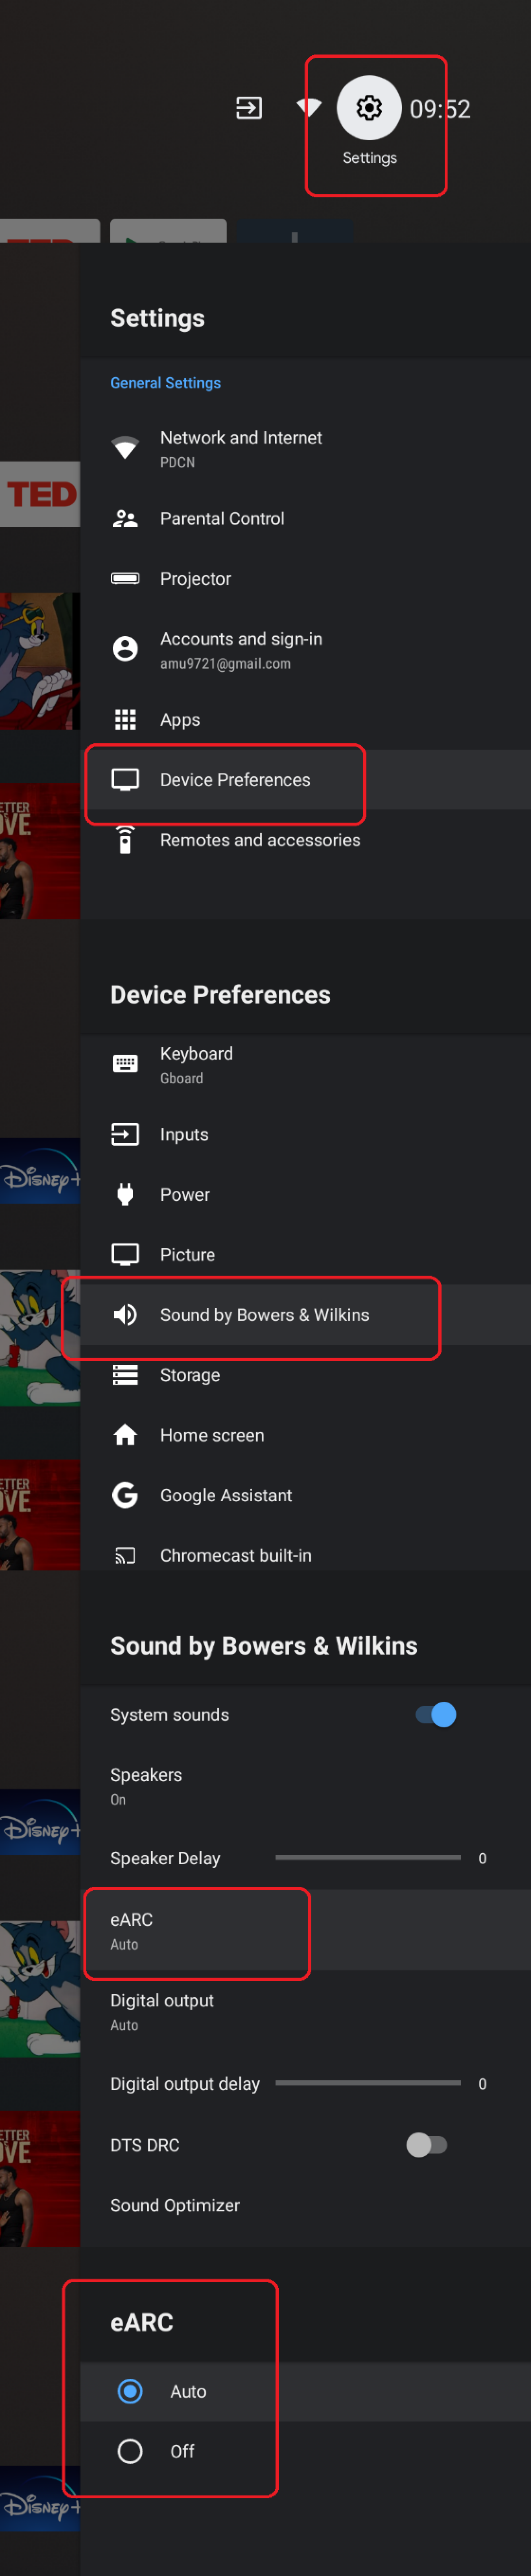
When you’re confident that both ends of the cable are correctly inserted, use the remote to change the audio output settings. The sound will automatically be playing from the Bowers & Wilkins speakers, and you’ll need to change that. Open settings and toggle down to Device Preferences, then change the sound from “Bowers & Wilkins” to “eARC”. This will automatically turn off the built-in speakers and start projecting audio from your external speaker.
Step Three: Check that Everything Works
If you’re using the Optical Audio connection, the third step involves manually turning off the Bowers & Wilkins speakers in the settings before commencing the audio check. Use a sound clip you’re familiar with to check if the external sound system is connected properly. If the bass or any other parts of the audio don’t sound like they usually do, then you may need to readjust the connection or check that the cable isn’t damaged.
You’re Ready for the Full Experience
And you’re all done! Once you’re satisfied with the set-up of your sound system, there’s only one thing left to do - kick back and enjoy the show. The steps highlighted in this blog can help you seamlessly integrate a sound system into your home theater, whether you want to keep your preferred sound system or get a new one.

